HOW FASHION TRENDS INSPIRE PHOTOGRAPHERS

The topic of FASHION TRENDS has been a big keyword in some of my most recent live workshops & seminars so I thought I’d revisit the topic on my blog!

As a fashion photographer you should always have your eye on upcoming trends. In fact, if you are a portrait photographer you probably have already took some inspiration from what you see in fashion magazines! Fashion covers and editorial shoots inspire many types of photography on the topics of lighting, styling, posing & retouching.

Over the past 10 years, the influence of fashion in portraiture has become even greater, with many portrait photographers using fashion photography methods to modernize their work and/or offer their portrait clients a ‘fashion shoot’ experience.

Why are trends important? In the fashion industry, the designers are the tastemakers and this is where we get our inspiration. Paying attention to trends even at a small level helps us keep our portfolio up to date and shows our clients that we are in touch with the seasons. With two main fashion seasons (Spring/Summer & Fall/Winter) and with many designers doing in-between collections (Pre-Fall & Resort) there is a lot of opportunity to take inspiration from what we see on the catwalk or on collection launches.
Fashion trends are not just about clothes & collections - it’s also hair and make up trends. This is equally important to pay attention to because make up & hair stylists also create ideas around designer’s collections.

If you don’t research and keep up to date with collections then your work simply may feel outdated in months or a few years time. Have you ever noticed that heavily trend based work (think 80s fashion!) ages quickly? Have you ever looked at someone’s portfolio and thought “that looks a little dated”? I always say Keep one finger on the pulse of the industry”. Meaning - always keep yourself up to date with trends. You don’t have to fully immerse yourself in the fashion scene - having an idea of each collection and trends each season helps. It also helps you converse & translate idea to your creative team!

I get a lot of questions on how to create fashion shoots and what fuels the ideas and it always comes back to trends. However, it’s also important to remember that personal inspiration will always be the defining point in finding your style. There’s no point picking out someone else’s favorite trends of the season, it has to come back to you!
When researching these trends - what do you feel connected to? What inspires you? Is it more minimal themes such as minimal shapes or muted colors? Is it trend-heavy such as 1920’s or 1950’s or is it more about the overall feeling and a mood? Perhaps you can pick out some ideas based on your preference of shooting feminine themes or perhaps strong characters? Perhaps it’s seasonal - with a little bit of inspiration from the layering in fall and the florals and pastels of summer? The inspiration can be endless! I highly recommend using www.vogue.com to discover more about designer’s collections each season and www.fashiongonerogue.com for visual inspiration!

Whenever I am doing visual research a specific fashion designer's new collection can instantly trigger a shoot idea! A perfect example of this is when I first laid eyes on the Dior Resort 18 collection. I knew I HAD to shoot it and that was that! A few weeks later we were finally on set creating magic with our perfectly fitting model Bhumika Arora.

In my online course ‘The Fashion Series’ you’ll notice I discuss trends a lot! From posing, styling, lighting and shooting planning. If you’re interested in learning more about trends, how to build mood-boards & how to add a fashion flair to your work then this course is a perfect fit!

Shoot Credits
Model - Bhumika Arora @ The Society Management
Styling - Connie Berg @ Atelier Management
Make Up - Deborah Altizio
Hair - Timothy Aylward @ The Wall Group
Nails by Naoko @ Artlist
Retouching by Solstice Retouch
Behind The Scenes Images - Paul Jun Photography

BTS-Lara-Jade-Harpers-Editorial-65.jpg
larajade_behindthescenes2.jpg
larajade_behindthescenes.jpg
harpersbazaarkazakhstan_larajade.jpg
bhumikarora_bylarajade.jpg
harpersbazaarkazakhstan_larajade2.jpg

TOP TIPS FOR SELF PORTRAIT PHOTOGRAPHY


Today I want to discuss my self-portrait journey and give you some tips on creating your own self portraits!

Not everyone knows this but I started my photography journey by shooting self-portraiture. I was in my early teens when I first discovered photography and photo manipulation (back in the days of the online communities of DeviantART and Flickr!). Choosing to photograph myself helped me hone my photography skills and helped me with my self-confidence. High school is not always easy and not always kind! Photography was my escape from reality and I created my own projects at home whenever I could.

During my first few years of college (where I received a diploma in photography), a lot of my projects were based around self portraiture as it’s where I felt the most comfortable. I was inspired by many artists but a few that stand out were Cindy Sherman (and the characters she portrayed), Francesca Woodman & her dark emotive photography & also Melanie Pullen. Even though Melanie didn’t necessarily shoot self portraiture - I loved the conceptual storytelling she was able to achieve and was obsessed with her book ‘High Fashion Crime Scenes’, which inspired of my final college projects!

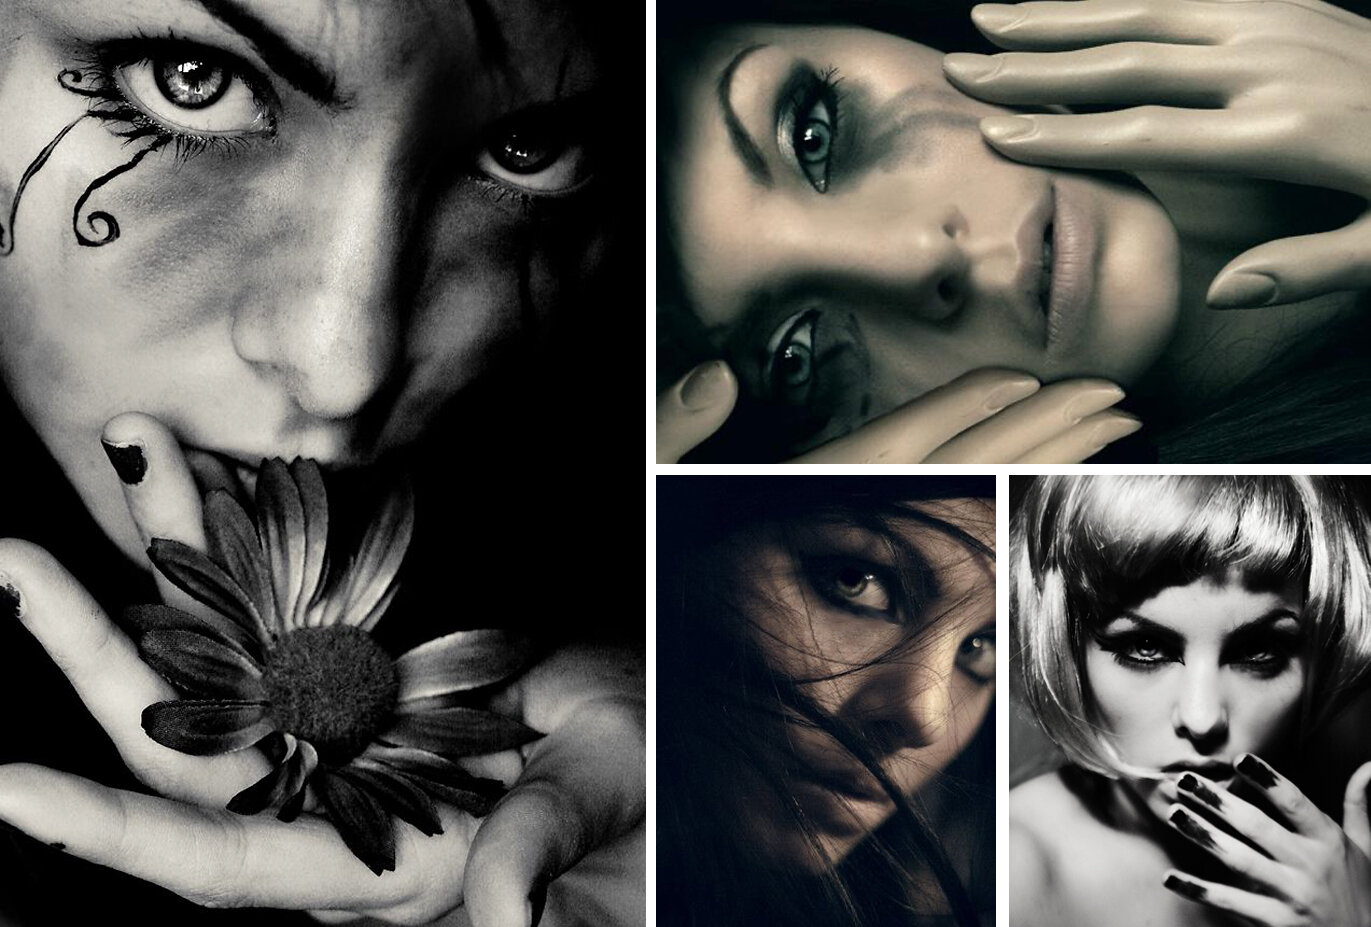
A collection of early self-portraits taken around 2006-2007

A collection of early self-portraits taken around 2006-2007


When I look back, I think about the fact that self portraits were always there when I needed them. Through break ups, through my insecurities, through setbacks. It was like a mirror, a point of reflection. If I was going through a period of stress I’d blast some of my favorite music and start shooting self portraits. Regardless of whether or not they turned out well, the process was quite therapeutic and I felt proud of what I could achieve on my own.

Fast forward a few years and my focus shifted to fashion photography. I moved to London and a few years later moved to NYC. I felt more confident in my craft and comfortable collaborating with others. I felt secure. I didn’t feel the desire to create self portraits anymore. I no longer felt the connection to the creation process.

Until recently. Lockdown happened mid March in New York. I suddenly go from having months of shoots on my calendar to absolutely nothing and no creative shoots for the foreseeable future. For the first few weeks I felt ok with just organizing everything in my apartment (absolutely everything) and completing the never-ending to do list.
Then the ‘creative itch’ happened. The artist inside of me started to get irritable. I needed to start a photography project. Those familiar insecurities popped up and started to tap on my shoulder and I knew what I needed to do to help - create self portraits.

I surprised myself. I could see a shift in the way I approached the ‘new’ self portraits. No longer where the shots masked, hidden, over-styled, over-edited. There was a desire to create a character in a minimal setting who was stronger and in control of her space, despite the world crumbling around outside.
I have to admit, I got hooked! I started to think about the character I wanted to portray. If I was feeling particularly stressed - I tried to portray myself as a stronger confident character. Think suits, black and white, graphic shapes. One morning I woke up with a desire to dance around the studio to Stevie Nicks. I dusted off my black hat & threw on my black fringe jacket and just went with it, with not a care in the world. When creating self portraits I always think about how I’m feeling and how I want to portray that in the images. I treat the process the same way I would a fashion shoot. Thinking about the idea and all of the puzzle piece. Why that backdrop? Why that clothing? What’s the connection? How am I feeling and what emotion/character do I want to portray? Then I switch on some music that makes sense and I start creating. Sometimes it can take me 30 mins, sometimes it can take me 3 hours (and after that amount of time I just feel defeated and ready to take a nap, or a wine - whatever order!).

Over the past few weeks, I have enjoyed the self portrait creation process and would LOVE to encourage some of you out there to try it (if you haven’t before!). Perhaps you’ve tried to do them but want to find a better way of approaching them. I hope these tips help you! Scroll down to view.. .

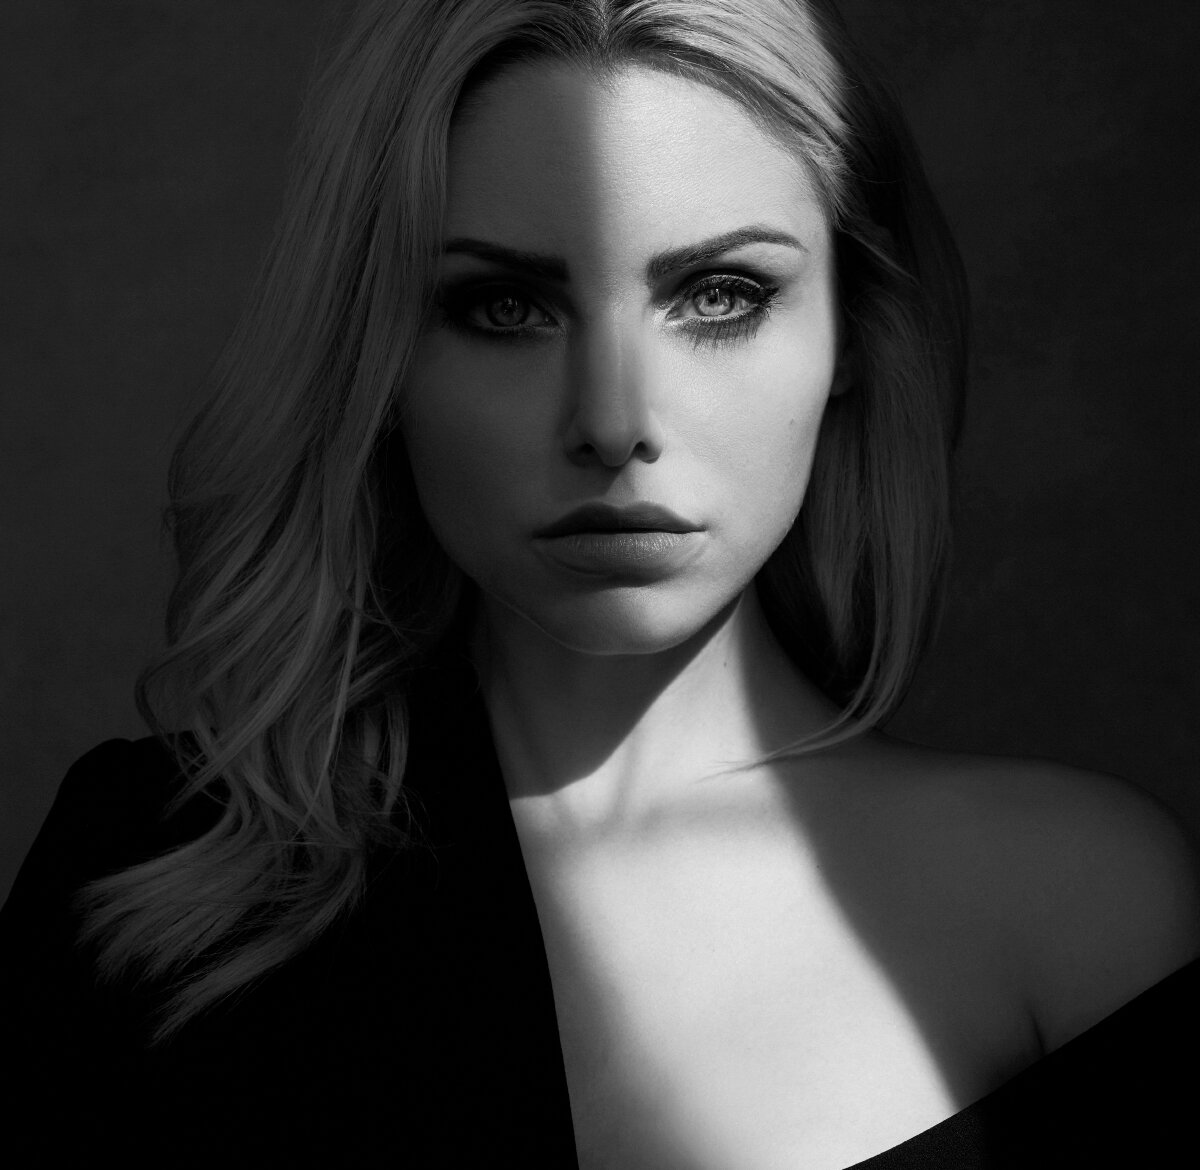
LARAJADE_SELFPORTRAIT.jpg


  1. HAVE PATIENCE


I started with this tip first because self portraiture requires a lot of patience! Don’t be discouraged! If this process is new to you, give it some time. Practice makes perfect!

Start with a small task - getting just one great self portrait using a simple backdrop and natural light. Don’t overcomplicate it and over-style the scene or yourself. Try to get an authentic photograph of yourself. This can also be used as your bio photo on your website or instagram! A win win situation.


2. USE A SMARTPHONE APP, OR A REMOTE!


Canon Camera Connect App

I use Canon cameras, so I use the Canon Camera Connect App. However many camera brands have apps that do a similar thing! The app allows me to use my smartphone as a remote and gives live view imaging of the camera via Wi-fi. I can also select my focus on the screen (super important) & see the composition as I’m shooting. I also like the fact I can view low res images on my phone and make selects. 
Note - This function is compatible on limited Canon devices, to view more info on whether your device is compatible or how to use it, view Canon’s website here.

You’re probably thinking - how does she hide the phone when she does this? Good question! Many creative ways! I either hide it in a jacket pocket, under my arm or near a prop (like I did with the step ladder below). I sometimes put it on a chair or apple box next to me and edit it out if it’s in the frame. Whatever it takes to get the shot! You can ALSO set a timer on the Canon Camera Connect screen which enables you to set the timer and get your pose right before the shutter clicks! Super helpful.

Remotes & self-timers!

- A remote is either wired or battery powered and allows you fire the shutter from a distance. Depending on your camera brand, there’s lots of options available for these. Since I used Canon, here’s two of my recommendations below. Again, check the compatibility via Canon’s website to know if this will work for your camera.

Here’s a Canon remote recommendation (wireless)
Here’s a Canon remote recommendation (wired).

- Using a self-timer requires some patience as you are going back and forth to the camera to set the timer off for each shot. My best advice would be to focus on an object (such as a stool, tripod, light stand, a plant, or a willing family member! Kids and pets may need to be bribed!) and replace yourself with the object before the timer goes off.

TIP! If you are doing either of these methods above, I highly recommend that you tether to a laptop and view your images via Capture One or Lightroom, so you can see your results as you shoot. This is super helpful for checking your focus!


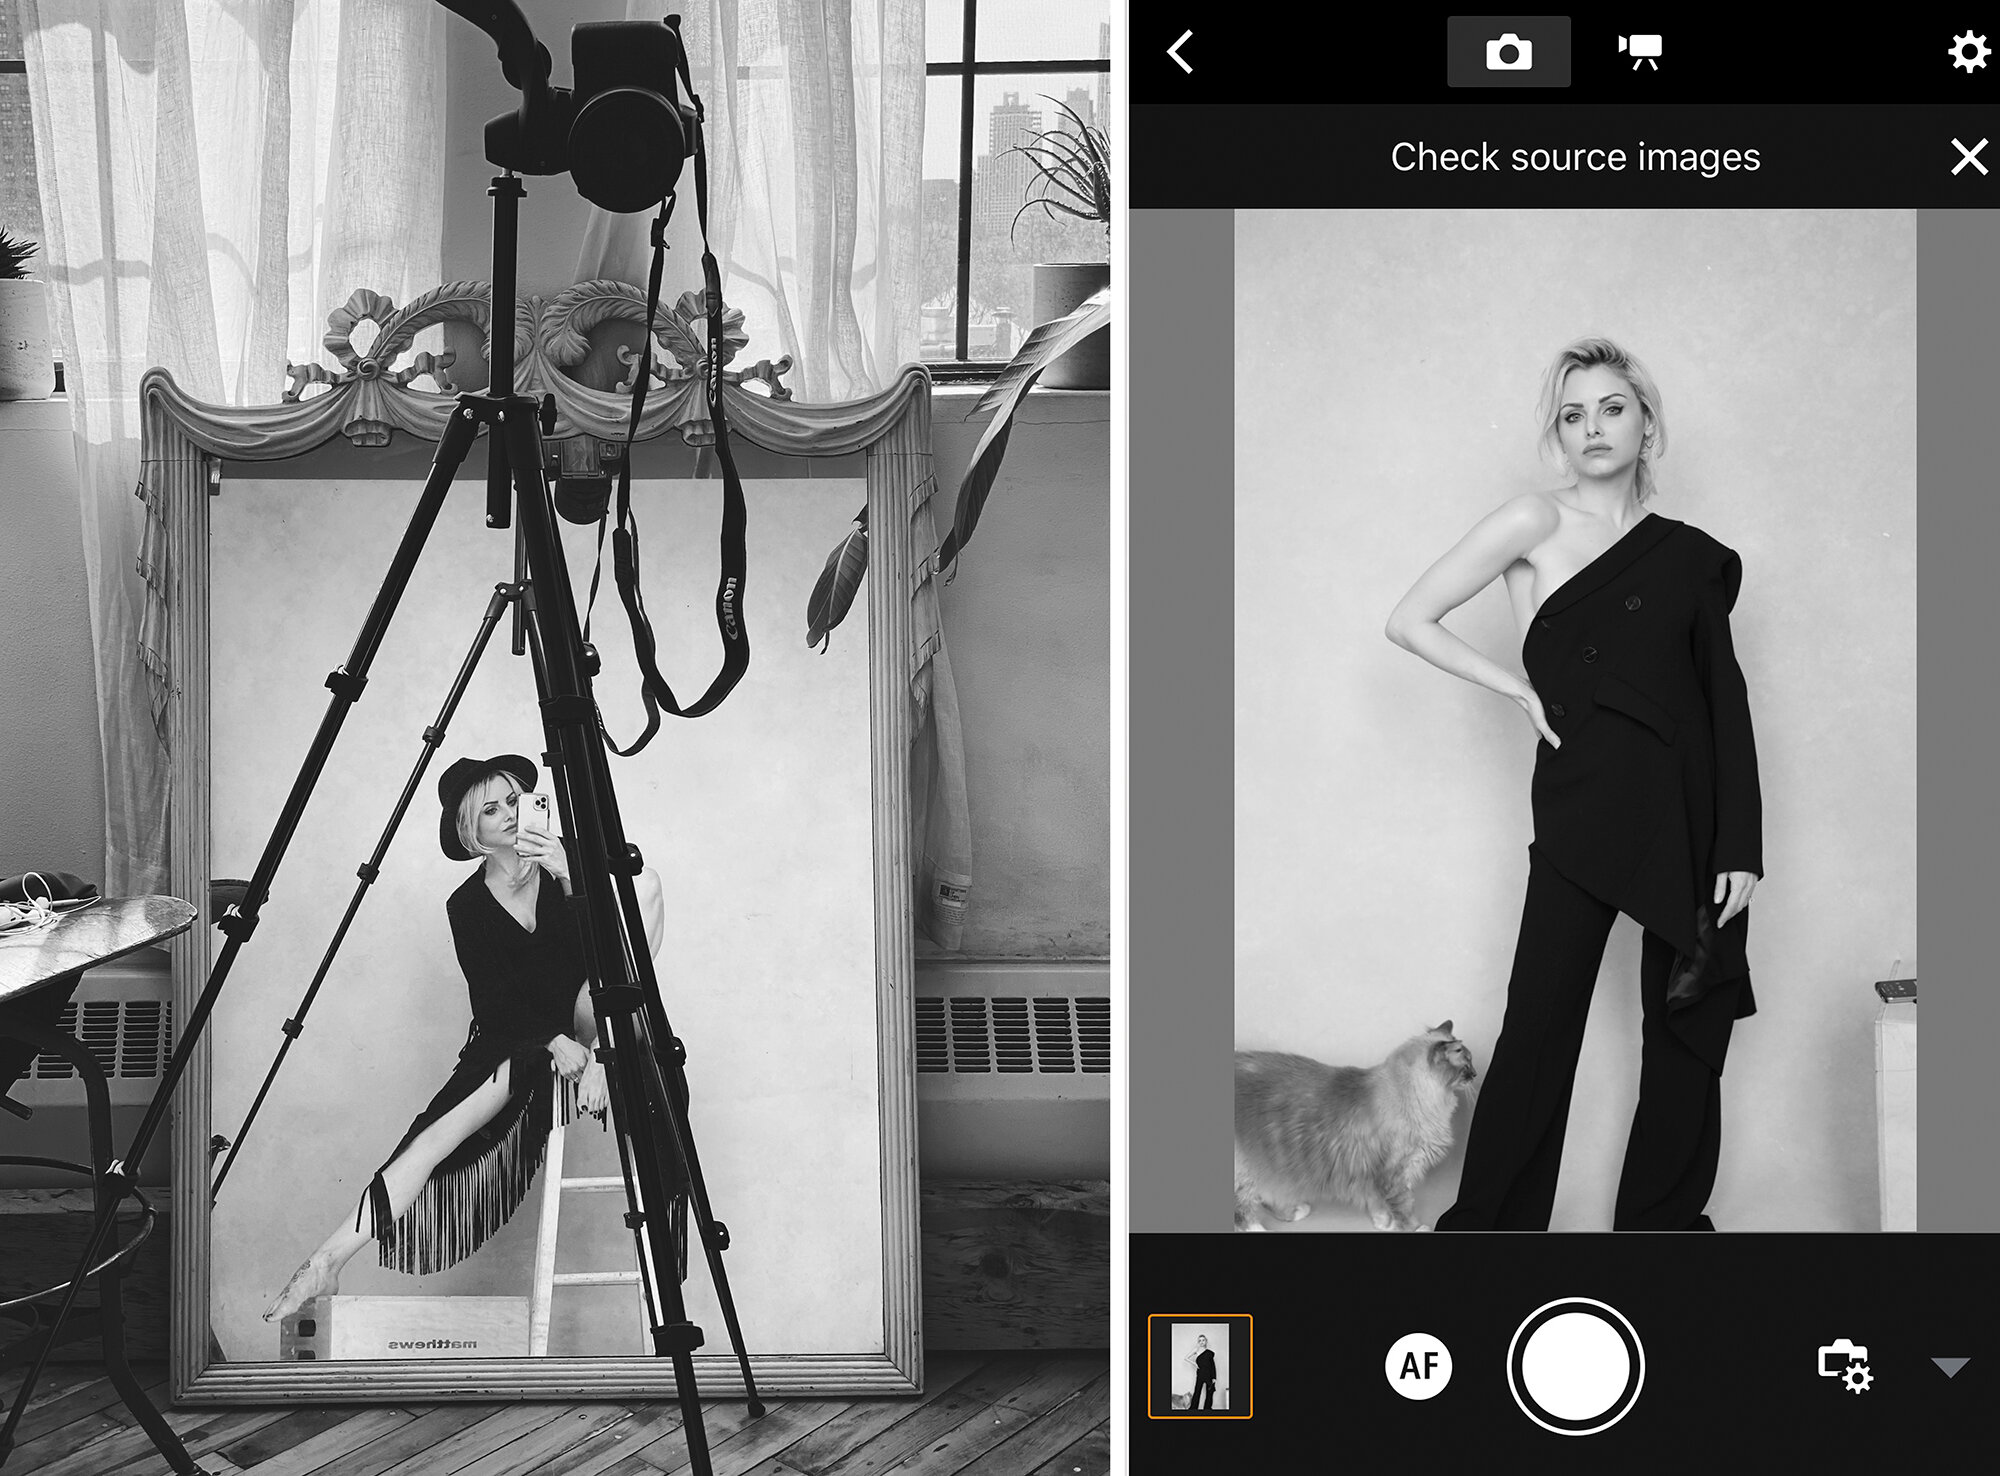
Left: Using a mirror & a tripod. Right: A screenshot from my phone, using Canon Camera Connect App (and being joined by my buddy GQ!).

Left: Using a mirror & a tripod. Right: A screenshot from my phone, using Canon Camera Connect App (and being joined by my buddy GQ!).


3. USE A TRIPOD


A tripod allows you to place your camera at whatever angle you wish and gives you a lot more control. If you don’t already own a tripod, I find this Manfrotto tripod super handy in my studio. It is not super heavy duty, but it works for the majority of simple portraits I do in my studio, as well as video recording. When I am out on location, I use a more sturdy, heavy duty Manfrotto tripod.


4. USE A WIDER LENS


Most would think a prime lens would be a better choice for self portraits, because.. it’s a portrait! I often opt for a 24-70mm or 50mm lens when shooting my self portraits simply because the wider angle gives me more to work with in terms of cropping choices later on. Sometimes I’ll use my Canon 85mm 1.2 for closer up portraits, if I don’t want my shots to look too distorted. Lens choice comes down to the individual and your preference but a zoom lens is pretty handy if you want to experiment with different angles and giving yourself multiple choices in one sitting (full length, beauty, 3/4 length shot, portrait etc).


5. USE A MIRROR!


I almost always use a mirror behind my camera (facing me, as the subject) on all of my self portrait shoots. This helps me SEE what I’m doing, tweak any hair, see if I have lipstick on my teeth or face (yes this happens a lot!). Having a mirror is a nice confidence booster. If you see yourself looking good you will feel good!
This is something that has really helped me make decisions when it comes to photographing myself.
On one self portrait shoot, the light started streaming in my apartment window quite strongly. Usually I would shy away from harsh light but the way I saw the window light coming through inspired me. I was able to use the mirror to find the right slither of light on my face and get in position for the shot. I highly recommend doing this! Just be careful of where you position the mirror so it doesn’t fall!


6. HAVE VISUAL REFERENCES!


I can’t stress this enough! The BEST way to get prepared for a shoot is to have visual references. This speaks for ALL genres of photography and especially those where you have to come up with posing ideas for people. Get yourself on Pinterest and start grabbing images that resonate with you. Chances are if you have a strong style as a photographer already, you’ll choose images that you usually would for your photoshoots. If you want a strong actor type portrait you might want to look at Annie Leibovitz, Mario Testino, Vanity Fair of The Hollywood Reporter. If you are a female who photographs with a light and airy feel, then look for images that have that same style. Patrick Demarchelier comes to mind. Look for keywords that speak to you. Chances are, a contributor on Pinterest has already submitted an already incredible reference board that you can use!
If you’re feeling really creative - do something different to what you usually would. Self portraits are also an excellent way of pushing you to think outside of your creative box. Try new lighting, try new posing techniques.


7. THINK ABOUT THE STYLING!


Think about the way a fashion photographer would approach a shoot. Part of the success of the image is the styling. What mood are you trying to go for? Are you trying to shoot something that is authentically you? Or perhaps you want to step it up a notch and shoot a professional portrait for your LinkedIn or website?
As a female photographer who likes to showcase both femininity and strength - my go to is often suits, or outfits that show a lot of skin and evoke confidence. This is what I like to shoot and what I am personally connected to, so this is how I want to portray myself.
Again visuals references are really important here. If you are not a pro at applying make up, there are plenty of tutorials out there that show you how to add a very simple but effective make up look, the same with hair styling! The idea is that you want the shot to look polished, so don’t overlook the hair, make up and styling!


8. GET CREATIVE!


You don’t have to spend a lot of money to create a self portrait! I remember my early self portrait projects being very DIY. You don’t have to spend a lot to make something look high production value. Some of my early self portraits were created using canvas wardrobes (as my background), bed sheets, charity shop/thrift props & cheap wigs and self-made outfits!
Here are a few ideas to help you get inspired below!

  • Bedsheets and patterned fabrics make for great backdrops!

  • Simple wigs, ribbons and tulle can make for interesting effects. Tulle can be used to create vintage looking collars.

  • Shoot through objects such as prisms and transparent colored paper to create layered lighting or rainbow effects.

  • Get creative with poses. Even if it’s a simple background a creative pose can make a photograph really interesting. Think of strange hand shapes, or hands close to the camera.

  • Capture movement. One of my favorite things to do is to capture movement in the studio by using slow shutter speeds. This always looks amazing in black and white and plain dresses or tulle as it adds quite a ghostly look (like the shot on the right).

  • Use flowers. Whether real, dried or faux! Flowers add visual impact and are easy to get. You can make flower crowns or simply create a frame around your lens to add interesting bokeh or a colorful vignette!

  • Create a conceptual story. Create a grid of 6 images and tell a story in each one. Perhaps one image is of your hand and the other images are movement, telling a different part of the story.

  • Don’t forget to EXPERIMENT! Experimenation is when some of my best self portrait shots have happened! Sometimes you can plan spend hours planning a shoot but the shoot just doesn’t go to plan. Magic can happen in this space!

selfportraittips.jpg


THANK YOU!

I hope you have found these tips helpful! If you decide to create a self portrait after reading this blog, I’d love for you to comment below! You can also use the hashtag #larajadeselfportraitchallenge on Instagram!

- Lara Jade